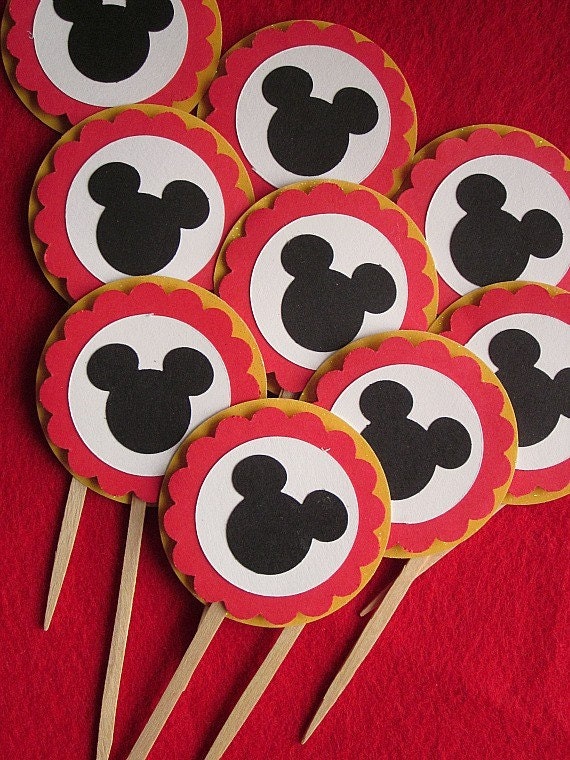
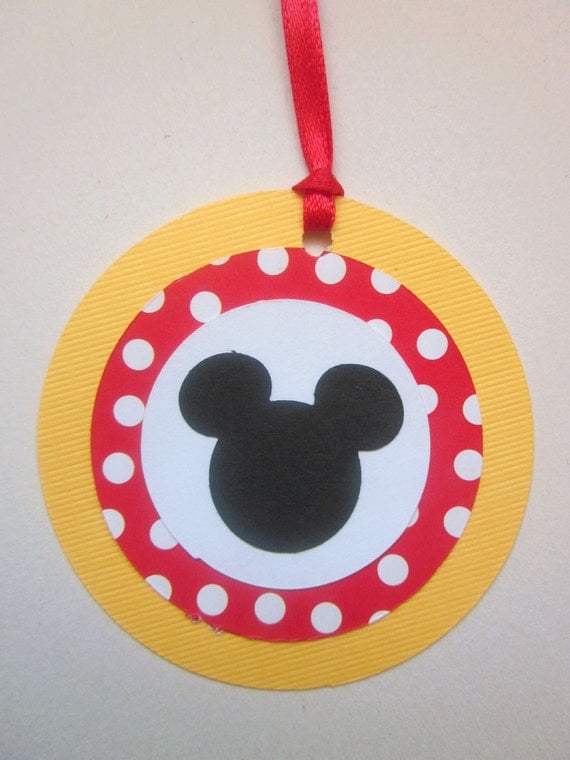
If you are throwing a Mickey Mouse birthday party these bags are perfect for filling with goodies, and add a nice touch to your decor!
These are super easy to make.
You will need:
~black bags (found at a craft or party supply store)
~red paper
~black paper
~white paper
~adhesive (I used glue dots) You will use this to adhere everything to the bag
1. Cover the lower front part of your black bag with a red rectangle. The red rectangle size will depend on the size bag you purchased.
2. Cut two small circles or ovals from white paper for the front buttons. I used an oval cutter, but you can trace something the size you want, or just freehand it.
3. Next cut two circles for those famous ears! Again, I used a circle cutter, but you can trace around a glass. Mine are about 2.5 inches. It is easiest if you fold the bag closed before you adhere the ears.
Now you're ready to fill it with all those fun goodies!
Thanks for having me Mayra!
Thank you Jenny!
You can also see Jenny's last tutorial on the Mickey Mouse invitations here in our blog, and visit Embellishing Life's blog and Facebook page for super cute crafts ideas.
Now, I want to give someone a chance to win a fun giveaway with some of Embellishing Life's own Mouse themed handmade party supplies.
To win a set of 12 toppers and 12 tags, visit and like Embellishing Life's Facebook Page and our In Flight's Facebook page and come back here and leave a message letting us know you have! If you are already a fan of the Facebook pages, just leave a message letting us know you are!! A winner would be chosen on Friday, May 27th at noon, EST!


im a fan of both!! stephanie rowe miller, steph at steffiessweetsinsations@gmail.com
ReplyDeleteI liked both pages:D
ReplyDeletehugs
oana podaru
oana_sunel at yahoo dot com
i'm a fan of both. skeime (at) gmail (dot) com
ReplyDeleteI am a fb fan of both.
ReplyDeleteemileenreynolds@yahoo.com
I like both!
ReplyDeleteI like both! :)
ReplyDeleteI like the tags!! Did you use circle punches?
ReplyDelete